How to Add Subtitles on Kodi using OpenSubtitles.org

On a traditional media platform, we rely on subtitles or closed captions. Thankfully for all Kodi-users, the app has the option of adding subtitles to your streams and content. Here’s how to add OpenSubtitles to your Kodi.
Kodi is one of the most powerful tools for cord cutters and streaming media fans alike. As a gateway to videos, music, movies, and games, it works on pretty much any platform you care to name and on almost every OS.
Kodi pretty much lets you watch what you want, when you want regardless of where you are around the world, however that flexibitly also offers up some interesting challenges.
Steps to use OpenSubtitles on Kodi
On a traditional media platform, we rely on subtitles or closed captions. Thankfully for all Kodi-users, the app has the option of adding subtitles to your streams and content.
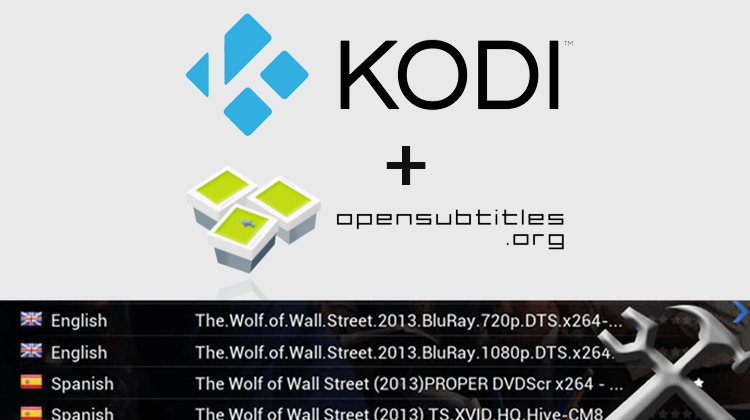
Kodi has a nifty, effective and most important of all – free! – add-on that allows users to add and view subtitles in the language of their choice to their content. The add-on, OpenSubtitles.org accomplishes this. Online, https://www.opensubtitles.org/en/search/subs has been the go-to in case you ever needed subtitles for the content you were watching on your desktop. Among its many features, the add-on allows you to view other users’ ratings for different subtitles, allowing you to pick the best one to download and add for your video.
In order to add this add-on to your Kodi, all you need to do is follow these simple steps listed below:
Please note that in order to avail the OpenSubtitles.org add-on content, you must have registered for a free account.
- Register for a free account on OpenSubtitles.org by following this link: https://www.opensubtitles.org/en/newuser
- Open up your Kodi, on the home screen, select the ‘Add-Ons’ button.
- On top of the screen, the open package icon should be available. Select the same.
- Select ‘Install from repository’.
- In the categories, select ‘Subtitles’.
- Click on ‘OpenSubtitles.org’ and in the following screen, select ‘Install’.
- While on the same installation screen, click on ‘Configure’.
- When prompted, type in your login credentials that you created when you signed up for OpenSubtitles.org. (Username and Password).
- Return to your Kodi home screen.
- Towards the top of the page, locate the small gear icon. This is the settings menu. Select the same.
- Click on the icon that represents Player Settings.
- Once on the player settings page, you can find options to configure download languages.
- Enable the Advance Settings toggle present around the bottom of the settings menu in order to configure these settings.
- If you require subtitles in a specific language, change the download language for subtitles.
- Save these settings and open up your favourite movie, click on the ‘Subtitles’ button present on the player bottom bar and choose the subtitle file you want on your screen.
- You now have closed captions/subtitles for your content!
Thanks to this convenient add-on and its features, you can now watch all your favorite Korean dramas and foreign movies without hassle, understanding every bit of it!
Bypass geoblocking
One of the challenges with Kodi is its flexibility. While this might not at first glance seem like an issue, the problem really is that with Kodi, you can access content that is only meant to be available in specific countries and regions of the world.
This is known as geoblocking and it occurs when specific channels or programs are only available based on the geographical location of the viewer. A great example is BBC iPlayer which is restricted to the UK. Accessing this content outside of the UK is very difficult … UNLESS …
Yep, you got it. A VPN helps you bypass this restriction. You see VPNs create a virtual tunnel between your device and the server that is delivering the content to that device. If that server is located in the UK (for example), you just need to choose a local UK server and it will seem as if you’re in the UK. It really is that simple!
Now, one thing to be concerned about with VPNs is their speed. You have to think that if all of your traffic is going through a tunnel if that tunnel is not large enough for what you want to transmit and receive, it’s going to cause bottlenecks. Fortunately, the VPN I’m going to be talking about is Surfshark.
Surfshark is probably the best of the bunch right now and is specifically designed for streaming content. It has servers all over the world letting you bypass geotargeting & even better? We’ve got a special offer for our readers giving you 82% off!
We’ve arranged an EXCLUSIVE deal with Surfshark to give our readers 82% discount. Just follow this link
Would you like to know more? Here are 5 reasons why you need a VPN while streaming.


