How to setup a VPN for kodi and unblock add-ons while stay anonymous

We have been advising our followers to install a VPN to use with Kodi. But most of you should be asking what’s a VPN, why do I need a VPN and how to setup a VPN to use with Kodi.
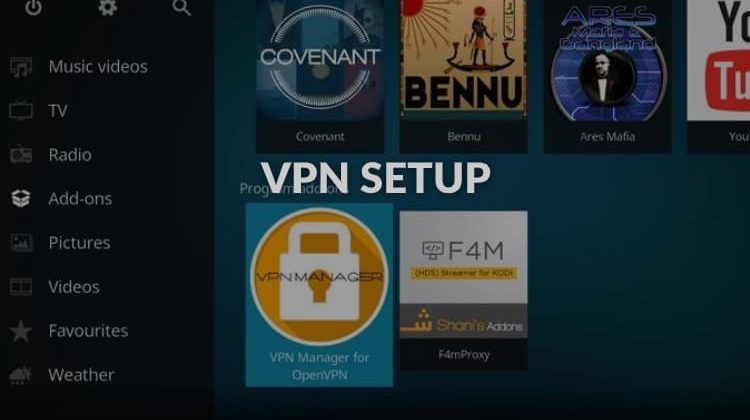
In this article I will show you how easy is to setup a VPN to protect your connection and unblock geo-blocked kodi add-ons.
What’s a VPN
Well, a VPN (Virtual Private Network) in simple words is a software used to add security and privacy to your internet connection. Basically, your unique ID in the internet is your IP address (if you type on google: “my IP address”, google will tell you which is your IP address), the IP address is Public and it’s easy to get. For example, when you go to a website, the owner of that website knows your IP address. The IP address retrieves information about your location and your ISP (internet service provider).
What a VPN does is to make your IP address disappear while you are connected (you can easily switch on and off) and it will give you a different IP address in a location chosen by you.
Why do I need a VPN
As we said in the previous paragraph, when you have the VPN switched on, your IP Address will disappear and will be replaced by another one in a location chosen by you. So you will be anonymous, your device will be safe of spyware / malware / virus (because spyware needs your IP address) and you will be able to be virtually located in any part of the world.
As a Kodi user with a VPN you will benefit of:
- Total privacy while you’re streaming movies / tv series / channels / anything! With a VPN you can preserve your civil right to privacy.
- You will be able to choose your location, and unblock geo-locked add-ons. So if you are in UK you can for example easily set your VPN to connect to the USA and watch live US TV Channels. This applies to any country, UK and USA are just an example! You will be able to unblock any geo-locked add-on.
Here’s How to setup a VPN on Fire TV / Stick
If you are a Fire TV / Stick owner, you can find the instructions to install a VPN on Fire Stick in this article.
How to setup a VPN to use with a Kodi box
Setup a VPN is very simple! First you need to get a VPN subscription, click here to check the most recommended VPN.
There are 2 ways to setup a VPN in your Kodi box:
1- With a VPN app (Surfshark as example)
2 – Setting a default VPN connection for your android tv box
Method 1 (the most flexible): Setup a VPN using the VPN App
- Check if the Surfshark app came installed with the box. In your Android box home screen go to apps and look for Surfshark. If you have it already installed jump to step 6.
- From your Android TV Box main menu, find the Play Store app and open it (it can be under “Apps”)
- If you never used it before in your Android TV Box, you will need to login with an existing google account or create one.
- Search for Surfshark
- Click on the Surfshark icon and press download / install to get the FREE VPN app in your android box.
- Go back to your home menu and then navigate to apps > Surfshark to run the VPN app
- Open the menu in the top left corner and press Login. Follow the steps to login. You will need an Surfshark account to Login (Check here the benefits of Surfshark or click here to subscribe Surfshark)
- Click on a server from the list to establish a VPN connection. You can also use the search bar on the top to look for more locations.
- Your IP Address will be now from the country / location chosen by you in the previous step.
- This is important: The app needs to keep running for you to use the VPN with Kodi or another app, so you can’t close it. To keep the app running in the background, in you remote control click in the “home” button or in your keyboard click alt + tab.
Enjoy!
Method 2: Always run VPN connection by default
- Settings > More Settings > Wireless & networks > More > VPN
- Click on + or Add VPN
- Fill the VPN name (it can be anything)
- Make sure the PPTP Protocol is selected
- Choose a VPN server from this list https://account.ipvanish.com/index.php?t=IP%20List and enter it in the address field.
- Check the “enable encryption” option
- Save
- Tap the VPN to test connection and login with your Surfshark credentials
- In the top right corner you should find an option to keep your VPN connection always enable so you won’t need to do this again next time. When you turn on your Android TV Box, the VPN will be already enable.
The method 2 is more convenient because you don’t need to turn your VPN on every time you want to use it, but it’s less flexible because you can’t swap to another location as easy as the method 1.
The Best VPN for Kodi
Surfshark is considered the best VPN for Kodi. They have many advantages over other VPNs:
- Full support for Android TV – Large TV screen resolutions and functionality for remotes;
- Surfshark has servers in more than 60 countries;
- Surfshark is one of the world’s fastest VPN – No throttling or blocking of any traffic, ports or protocols;
- 5 simultaneous connections on multiple devices (can use it at the same time in your android tv box, laptop, smartphone, and more!);
- Every server in the servers list is a physical installation (most VPN providers geo-spoof);
- Zero traffic logs policy. Which means that they don’t keep logs of your traffic;
- Tier 1 network, which means Surfshark owns the entire hardware and software;
- Surfshark is the best value VPN on the market;
- 7- days money back guaranty.
We’ve arranged an EXCLUSIVE deal with Surfshark to give our readers 82% discount. Just click on the button bellow.
Access All Kodi Add-ons Now!


